How to Change Spark Plugs: A Beginner's Step-by-Step Guide
Posted by DIYCar Editorial Team Reviewed by DIYCar Editorial Team Review date Posted Topic: Spark plugs
To change spark plugs on a gasoline car, let the engine cool, find the plug part number, gap and torque in your owner's manual, then replace one plug at a time: remove the coil or wire, loosen and pull the old plug, thread the new one in by hand, and tighten it to the manual's torque. Stop if anything strips, seizes or needs parts removed that you cannot reinstall.
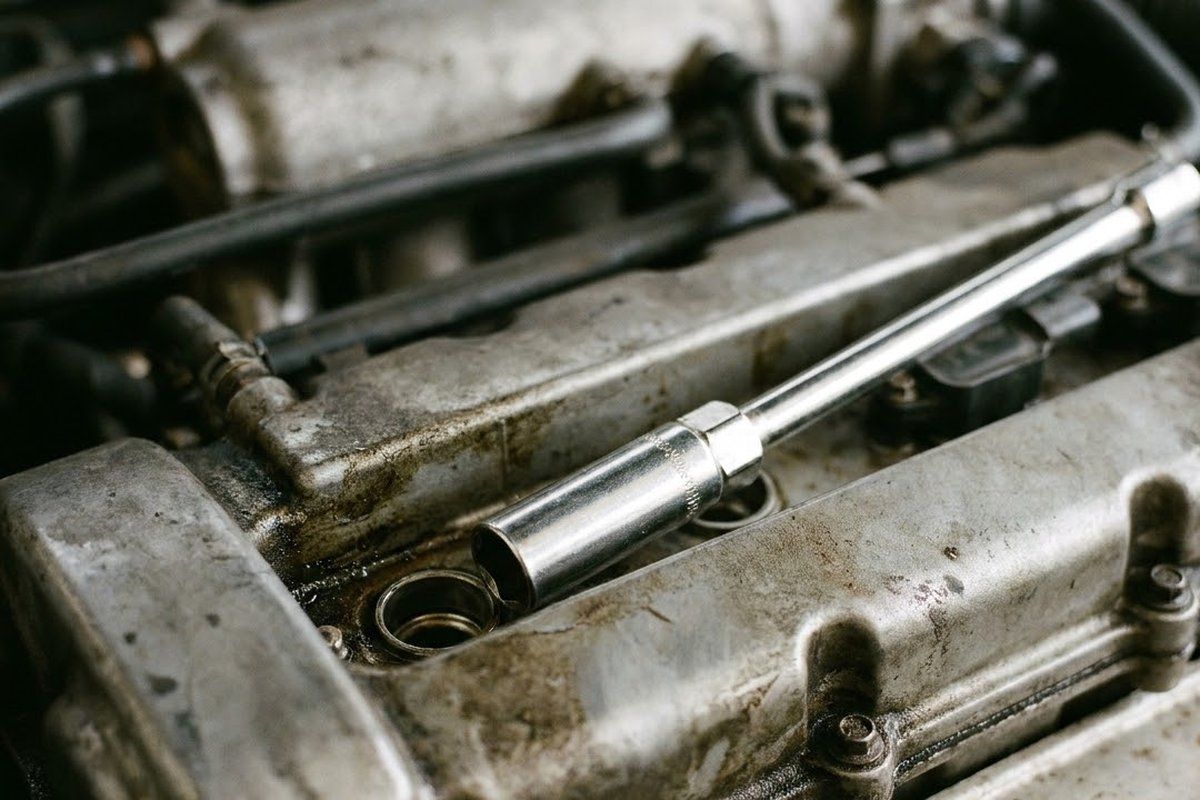
Changing spark plugs is one of the more approachable jobs in the routine maintenance schedule, but only on the right engine. This guide covers the order of work, the checks that prevent damage, and the points where you should stop. Your owner’s manual decides the plug, the gap, the torque and the interval; nothing here replaces it. Deciding when plugs are due is covered in the replacement interval.
Safety first
Work on a cooled engine on level ground with the car off and the key out of the ignition, and follow your manual’s procedure. Wear eye protection; OSHA’s construction eye-protection rule lists flying particles, liquid chemicals, acids and caustic liquids as hazards that call for it. Disconnect nothing electrical unless your manual says to. Keep fuel and sparks apart, and work in a ventilated space because running engines produce carbon monoxide. If you must lift the car for access, follow the jack safety guide and see our pre-job safety rules.
Is this a beginner job on your engine?
It is a beginner job when the plugs are reachable without removing major parts. On many engines each plug sits under an ignition coil that you unclip and lift out. On others, you must remove the intake manifold, fuel rail or other parts first, and a mistake can cause leaks or engine damage. Check your manual or the maker’s service information to see what has to come off. If it is more than a cover and a few coils, a shop job may be safer than a first attempt.
Find the plug type, gap and torque
Take the plug part number, the gap and the tightening torque from your owner’s manual, not from a store’s fitment guide alone. NGK names an incorrect gap as a cause of plug failure and says to follow the installation instructions closely, including the correct torque. If the manual lists a torque for a new plug, a torque wrench is not optional. For help with materials, see spark plug types.
Tools
- Spark plug socket with a rubber insert, sized to your plug.
- Extensions and a ratchet; a swivel joint helps on tight engines.
- Torque wrench that covers the manual’s value.
- Gap gauge suited to your plug tip.
- Compressed air or a clean brush to clear debris from the plug wells.
- Clean rags and eye protection.
Use only extras your manual or the plug maker calls for. Do not add anything to the plugs or coil boots unless your manual or the plug maker says to.
Step by step
- Let the engine cool. A hot engine can burn you; follow your manual’s procedure.
- Take a photo of the engine bay and label the coils or wires for each cylinder so nothing is swapped.
- Work on one cylinder at a time. Remove the coil or wire for that cylinder following the manual, taking care with the clips.
- Clear the well. Blow out dirt before you loosen the plug so it does not fall into the cylinder.
- Loosen and remove the old plug with the socket. If it resists, do not force it; stop and see the list below.
- Check the new plug’s gap against the manual and compare the new plug to the old one to confirm it is the same type.
- Thread the new plug in by hand until it seats. If it will not turn freely, back it out and restart; forcing it can strip the head.
- Tighten to the manual’s torque with the torque wrench.
- Refit the coil or wire, make sure it clicks or seats, and move to the next cylinder.
Torque and cross-threading
Cross-threading and overtightening can damage a cylinder head. Starting every plug by hand and using a torque wrench to your manual’s value helps avoid both. A plug that feels gritty or stiff in the first turns is not seated properly; remove it and restart. A stripped thread is a shop repair.
Inspect the old plugs
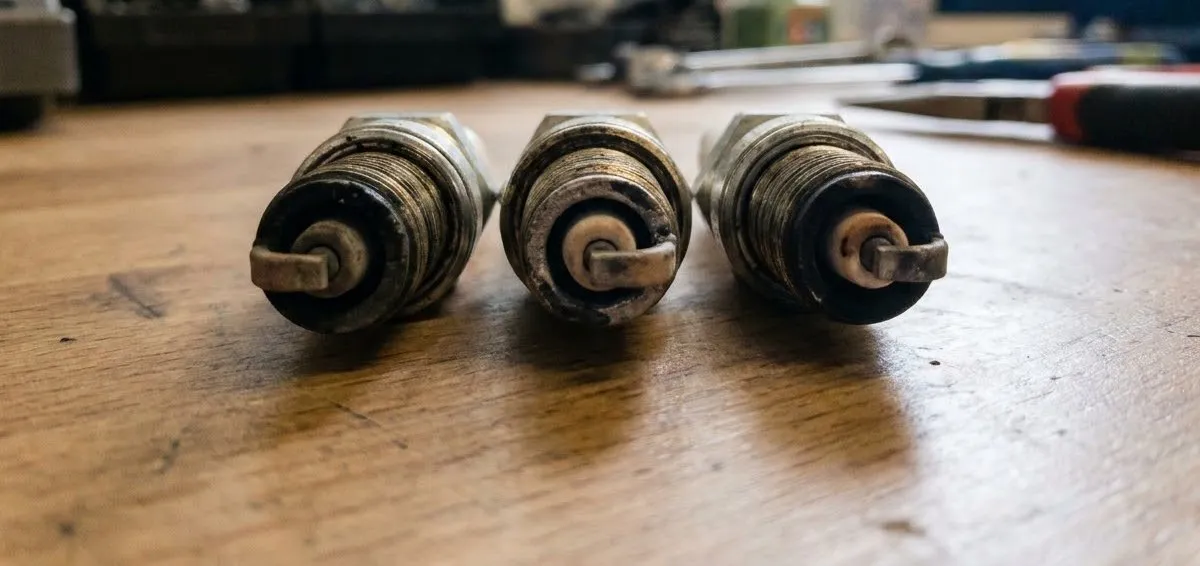
Compare the old plugs. The fueleconomy.gov list of ignition checks includes wet plugs, cracks, wear, improper gap, burned electrodes and heavy deposits. A plug that is oily, wet with fuel or badly burned in one cylinder points to a problem elsewhere in the engine that new plugs will not fix. Keep that information for a shop.
Reconnect and test
With all plugs and coils back in place, check that nothing is left loose in the engine bay, then start the engine. It should settle to a steady idle. A rough idle, a check engine light or a misfire afterwards means a coil is not seated or a plug is wrong; shut off and recheck. See bad spark plug symptoms and the check engine light guide.
Common mistakes
- Using the wrong plug because a store’s lookup said “close enough.”
- Skipping the torque wrench.
- Removing every coil at once and mixing the positions.
- Letting dirt fall into an open cylinder.
- Forcing a plug that does not want to turn.
Stop and use a shop if
- Any plug is seized, or a thread strips.
- The plugs are under the intake manifold or other parts you cannot confidently remove and refit.
- A plug breaks off or the socket will not grip.
- The engine runs rough or the check engine light flashes after the job.
- You smell fuel or see a leak.
- Your manual calls for a tool or software procedure you do not have.
All Spark Plugs guides
- Bad Spark Plug Symptoms: Misfires, Hard Starts and More
Bad spark plug symptoms include rough idle, misfires, hard starting and poor fuel economy. See what else causes them and when to stop driving.
- How Often to Change Spark Plugs (by Plug Type)
How often to change spark plugs: the answer is your owner's manual interval. See how plug material affects wear, the signs of late plugs and what to check.
- Iridium vs Platinum vs Copper Spark Plugs: Differences
Iridium vs platinum vs copper spark plugs: what each material is, how it wears, why your manual's specified plug matters and why we publish no rankings.
Quick answers
How long does it take to change spark plugs?
It depends on the engine, so no single time is reliable. On some engines the plugs sit in plain view under coils and take a patient beginner a modest afternoon. On others the plugs are buried under the intake manifold or other parts, and the job is long and error-prone. Check how much has to come off in your manual before you start, and allow extra time for a seized or stripped plug.
Can a beginner change spark plugs?
Often yes, but only on an engine where the plugs are easy to reach and you have the right tools, including a torque wrench. Read your manual's procedure first. If reaching the plugs means removing the intake manifold, fuel components or other parts you are not sure you can refit correctly, or if a plug resists, stop and have a shop do the work.
Do I need to gap new spark plugs?
Check the gap against the number in your owner's manual or on the plug maker's fitment information, because an incorrect gap is a cause of plug failure. Measure with a proper gauge, and follow the plug maker's instructions before adjusting any gap.
What does a stripped spark plug thread mean?
It means the threads in the cylinder head are damaged. Stop work immediately and have a shop repair it; do not keep driving on a loose or partly threaded plug. Forcing a plug into damaged threads can make the damage worse, so do not try to finish the job yourself.
Should I replace all the plugs at once?
Follow your manual's replacement instructions for the set. The one-at-a-time method in this guide is about avoiding mix-ups in wire or coil positions as you work, not about replacing only one plug. If you are unsure how many plugs your engine has or in what order they go, check the manual before you start.
How do I know when plugs are due?
Your owner's manual gives the replacement interval for your engine. Symptoms such as rough idle, a misfire or hard starting can suggest worn plugs, but other parts can cause the same signs, so a diagnosis matters. See our guide to bad spark plug symptoms, and note that a flashing check engine light needs urgent attention.
Where we got this
- U.S. Department of Energy, fueleconomy.gov: Frequently asked questions (fueleconomy.gov)
- NGK Spark Plug: You asked, NGK answers (spark plugs) (ngkntk.com)
- OSHA: 29 CFR 1926.102, Eye and face protection (osha.gov)
Further guides
- Bad Spark Plug Symptoms: Misfires, Hard Starts and More
Bad spark plug symptoms include rough idle, misfires, hard starting and poor fuel economy. See what else causes them and when to stop driving.
- How Often to Change Spark Plugs (by Plug Type)
How often to change spark plugs: the answer is your owner's manual interval. See how plug material affects wear, the signs of late plugs and what to check.
- Iridium vs Platinum vs Copper Spark Plugs: Differences
Iridium vs platinum vs copper spark plugs: what each material is, how it wears, why your manual's specified plug matters and why we publish no rankings.